-40%
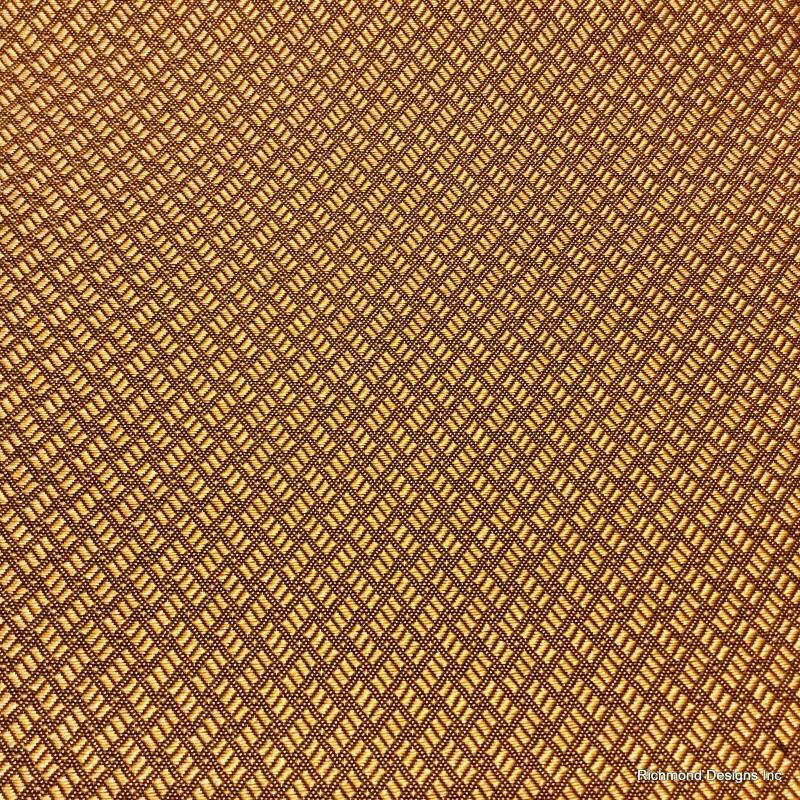
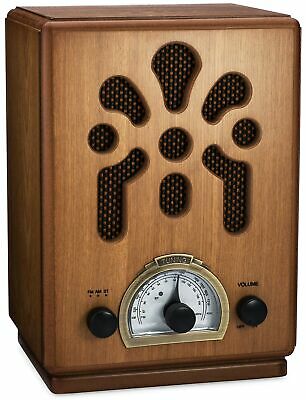
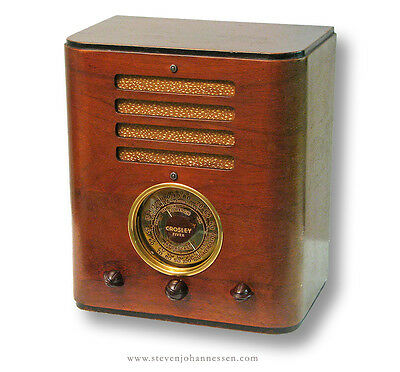
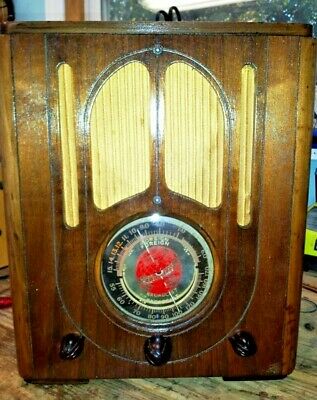
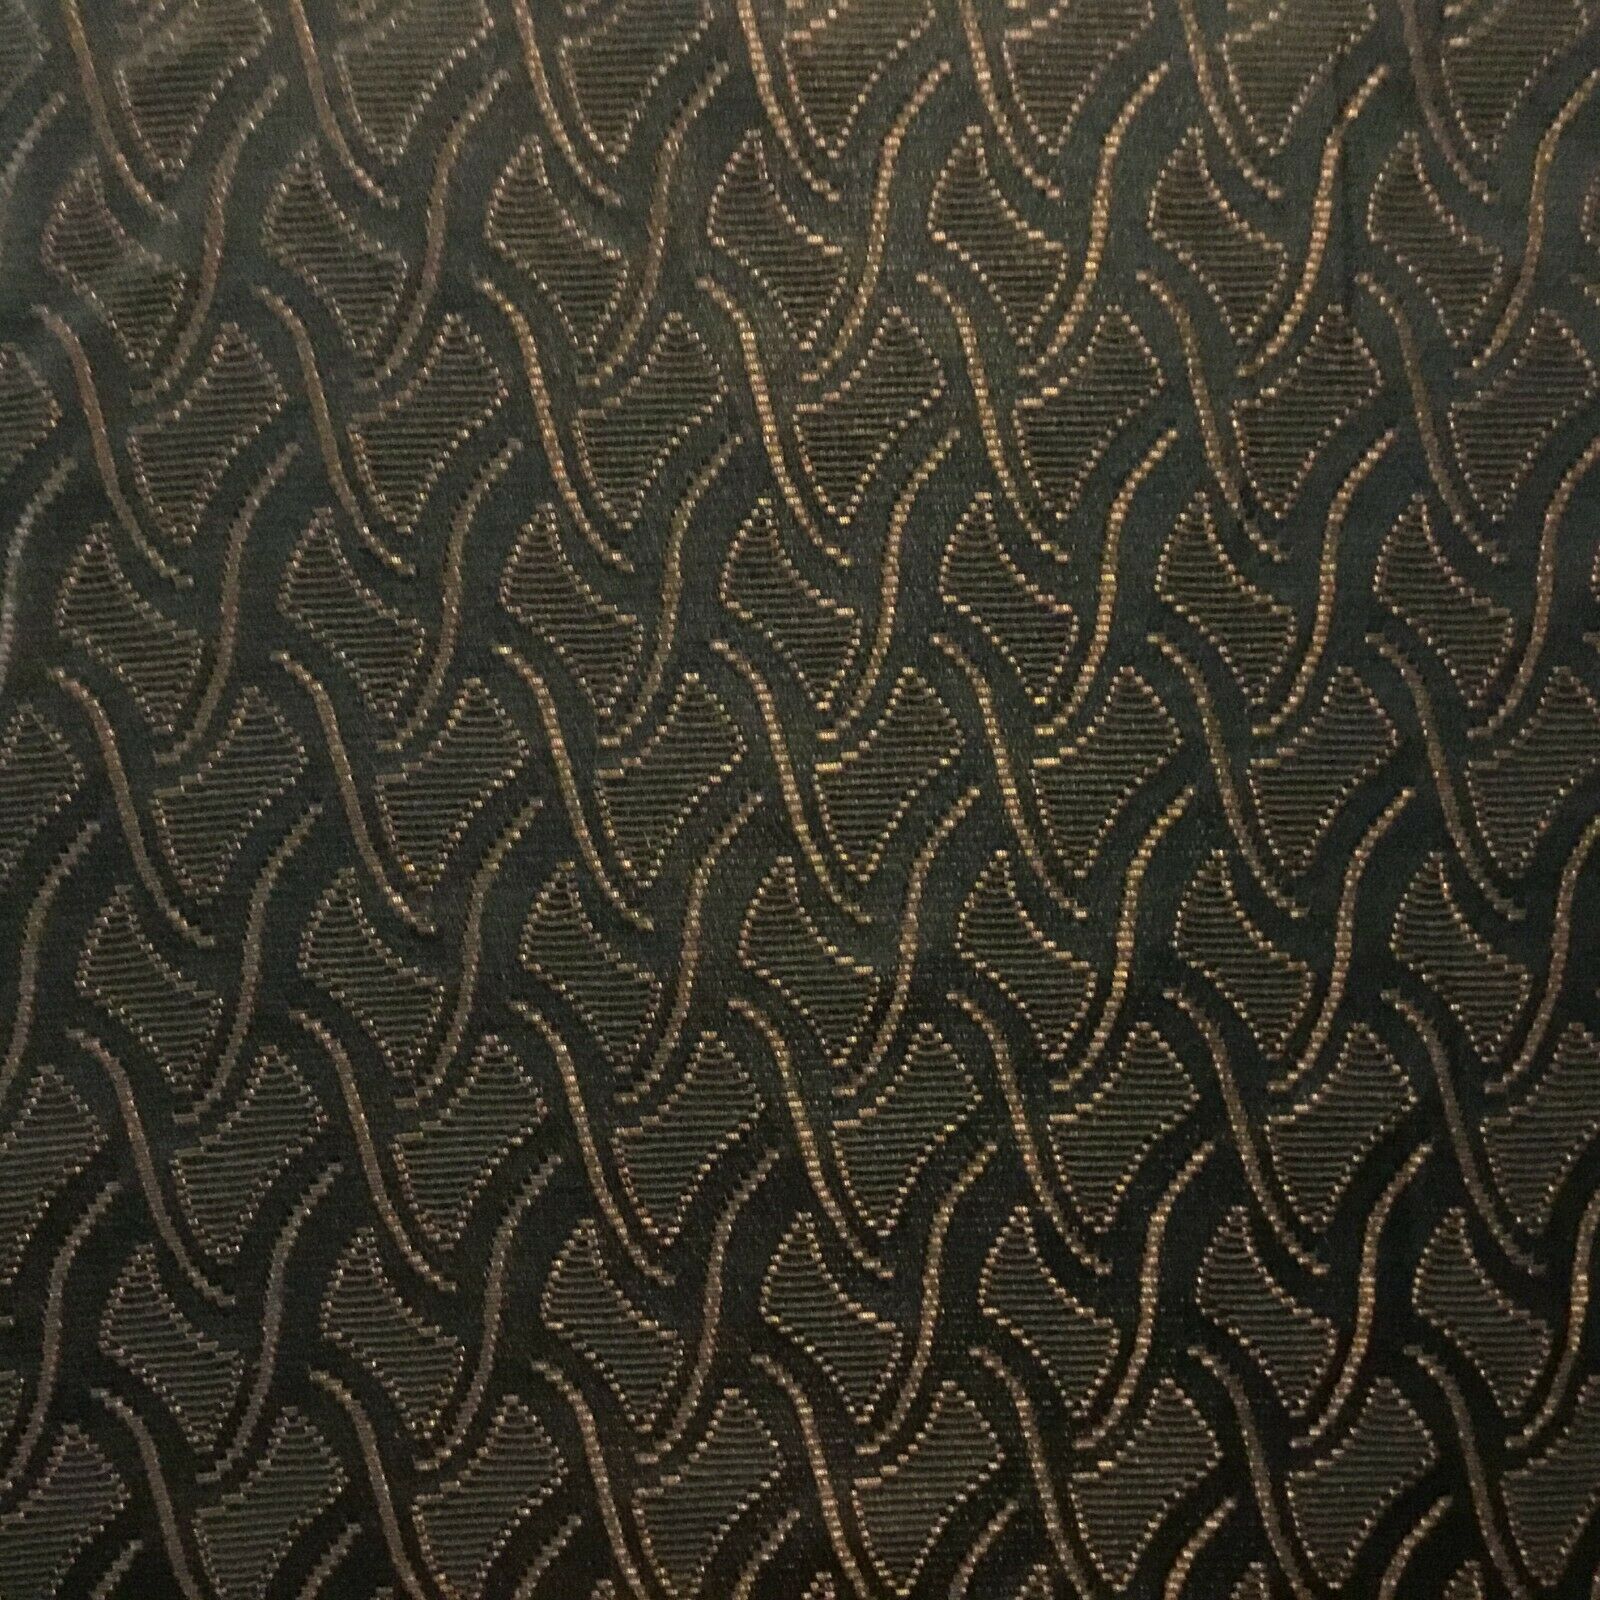
Antique Radio Speaker/Grille Cloth,Gold Herringbone,2 for 1 , End of Summer Sale
$ 12.67
- Description
- Size Guide
Description
End of Summer SaleTwo pieces for the Price of One
Gold Herringbone
This listing is for two pieces 18" x 24"
A True 1930s Pattern Design Duplication
Please be sure to click on
See other items
,
just below our ebay name in the top right corner of the listing.
Thank you,
Richmond Designs Inc
Thank you all,... for your support !!
Grill Cloth Installation Instructions
First,...mist the cloth lightly with a water mist, spraying lightly , not heavy. Then set your clean iron on low to medium heat. In doing so for speaker cloth,..
never hotter than you can touch without burning your hand. Smooth the cloth if necessary,.. but do not iron it completely dry.
You want the cloth to be damp during the application process. This allows the cloth to shrink as it dries stretching any wrinkles that may be left..
Next make sure your pattern is aligned straight with the edge of your board across the top and down the side before applying the spray adhesive.
Then, using 3M Super 27 or 77 spray adhesive, apply it to the edge of the board and all around the outer edge about a one inch wide band on the face side.
You do not want to spray glue all over the board. Leave the inner field area of the board clean, free of any adhesive.
This leaves the cloth free to stretch as it dries. (You can also spray the glue on a piece of paper and use a brush for applying in tight places.)
Let the glue dry for about 15 minutes. Do not spray adhesive anywhere on the cloth.
On a clean area of your work space, roll the cloth from the bottom up to the top, rolling your face side inward.
Start the application in one corner at the top checking your design to be straight across. Then roll it out top to bottom. Make sure your first edge at the top is straight and secure. Then as you stretch the cloth gently, watch your pattern design , keeping it straight , so not to over stretch the design. Tightening slightly , top to bottom,... then side to side. Once you have achieved the desired position, fold the outer excess cloth down over the glued edge of your board.
Let the project sit about one hour, then after the cloth has completely dried you may finish the trimming the back edge. Make sure to leave enough of the back edge of cloth to work with, in the event you may have to stretch an area a bit more.
Thank you ,
Richmond Designs Inc
Our 1930s duplications are sold all over the world.
Thank you for viewing,
Richmond Designs Inc
